Saturation Diving How to Survive
Every survival rule you need to internalize before you push past the Twilight Reef.
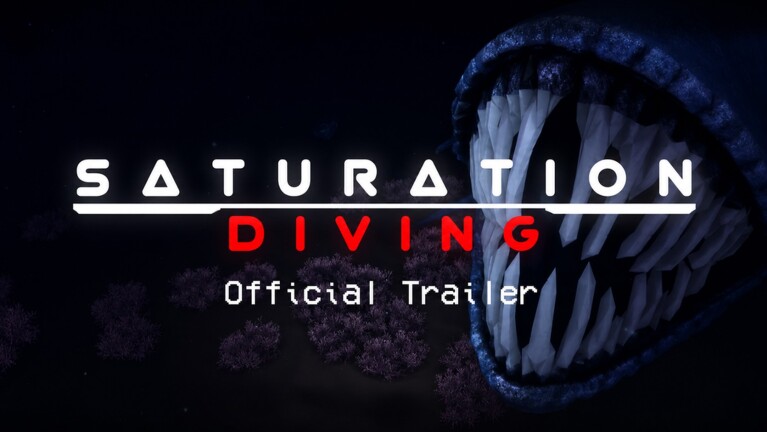
Saturation Diving is built around a single question: can you get back to the submarine with more ore than you started with? The game has no respawn tokens, no second-wind pickups, and no revive-on-death. Lose your air and you black out; aggro an entity and you might lose everything you mined that trip. This guide teaches the survival rules that separate divers who consistently turn a profit from divers who constantly reset empty-handed.
Oxygen Math
Every dive starts with a full tank. The drain rate depends on:
- Depth — pressure increases drain roughly 4% per 100m below sea level.
- Sprint — sprinting doubles the drain rate for the duration of the burst.
- Damage — entity attacks spike drain by +20% for 3 seconds after the hit lands.
- Drill use — drilling an ore node adds +15% drain while the drill is active.
The math to internalize: at Twilight Reef depth (0–200m), a Standard Tank gives you about 9 minutes of total dive, including 2 minutes of sprinting and 90 seconds of drilling. Plan your first surface attempt for 60% oxygen remaining — that gives you a buffer for the return trip even if you take a hit on the way back.
Entity Behavior
Entities spawn in waves and respond to sound, light, and sonar pings. The three rules below are non-negotiable:
- Never sprint inside a pipe cluster. Sprint emits a sonic signature that pulls entities from the next biome. Walk, mine, leave.
- Cap your flashlight at 30% beam intensity in Abyssal Hollow. Anything brighter is a beacon that draws the hadal watcher from across the zone.
- Sonar pings have a 5-second audio tail. If you ping and an entity does not move within 5 seconds, you are safe to mine. If it moves toward you, abort the dive.
The video below demonstrates a hadal entity encounter and the recommended escape pattern. Notice how the diver cuts light and audio the moment they realize the entity is on the move.
The Panic Checklist
Print this or memorize it. When things go wrong, run it top to bottom.
- Cut light output. Toggle to your dimmest setting.
- Stop sprinting. Switch to a walk.
- Ping sonar once. Confirm entity position relative to your team.
- Move laterally. Do not run away — entities are faster in a straight line. Strafe toward cover.
- Regroup at the closest pipe cluster. Pipes break line of sight and reset the entity’s aggro.
- If oxygen is below 30%: abort. Surface immediately even if it means leaving ore behind. Blacking out costs more than one run’s ore.
How to Escape the Entity
If an entity has locked on to you:
- Hide inside a salvage crate. Closed crates fully break aggro. The Salvager role can open them; everyone else needs a friend.
- Drop ore. Ore in your inventory emits a faint heat signature. Drop a stack as a decoy — the entity will prioritize the ore over you for ~10 seconds.
- Swim through a pipe. Pipes are dark and noisy. Entities rarely follow divers into them.
- Use the Captain’s emergency ping. Captains can ping every diver’s position to the team for a one-time cost of 50 credits.
Rebreather Crafting
Once you hit role level 5, every diver learns the Field Rebreather recipe. Materials: 4 Common Ore, 2 Salvage Wire, 1 Bioluminescent Algae. Field Rebreathers add +4 minutes of oxygen when consumed, and they stack up to three in a single inventory slot.
Bank two Rebreathers before every Black Mound run. The difference between a hadal run that pays out and a hadal run that blacks out is almost always whether you remembered to bring Rebreathers.
Common Mistakes
- Mining on a half-tank. New divers frequently over-commit to a final pipe cluster and surface with 5% oxygen. Bank the half-tank rule.
- Soloing Black Mound. The hadal boss requires four divers. Soloing it is technically possible but the math does not work.
- Trusting the auto-mine script in Abyssal Hollow. Auto-mine does not respect the panic checklist. Disable it before any deep-zone dive.
- Forgetting the Captain’s ping cooldown. The emergency ping has a 90-second cooldown. Use it once, then rely on regular sonar pings.
Pair This Guide With the Tools
- Use the Breathe Timer to time your surface attempts.
- Plan zone entry with the Dive Depth Calculator.
For a deep look at the gear that makes survival easier, jump to the Gear Tier List.
Frequently Asked Questions
Quick answers to the most common questions.
What is the safest zone to learn in?
Twilight Reef. Entities are passive unless you sprint inside pipe clusters. Surface returns are short. Ore is plentiful but low-tier. You will not lose much if you black out here.
How do I tell if an entity has spotted me?
Your sonar will pulse with a red highlight on the entity icon. If you do not have a sonar equipped, listen for the deep ambient rumble that ramps up over 3 seconds — that is the aggro cue.
Can I revive another diver who blacked out?
No. Blackouts are hard-loss events in the current beta. The blacked-out diver respawns at the sub and loses carried ore.
Do Field Rebreathers persist across wipes?
No. Beta wipes remove all crafted consumables. Bank Rebreathers in your sub storage locker before any announced wipe window.