Saturation Diving Walkthrough
A full run, from lobby to launch, dive to sell.
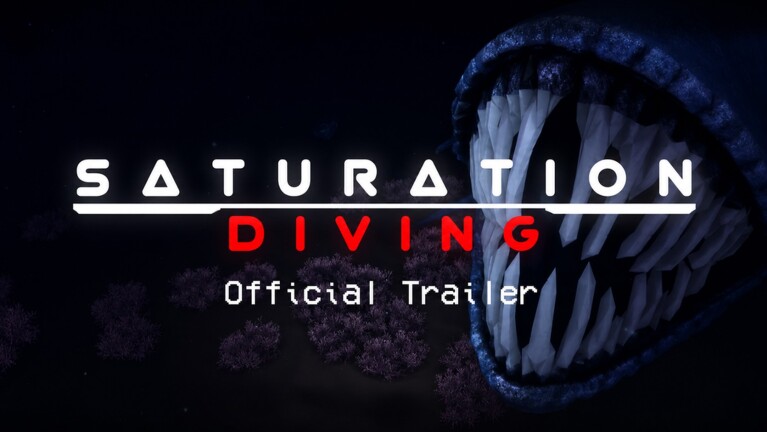
This page walks you through one complete cycle in Saturation Diving, from the lobby pickup screen to selling cargo and unlocking the next map tier. The flow is the same for solo (you + 3 bots) and for a four-player co-op squad.
1. The Lobby Pickup
You spawn in the lobby — a large wet-bay on the Research Vessel Aurelia. Walk up to one of the four terminal pods in the center bay. The terminal shows:
- Pickup — accept the next contract from the world map.
- Choose role — Captain, Engineer, Spotter, or Salvager. You will spawn with the role-specific gear locker.
- Customize gear — swap helmet, suit, drill, sonar, lights. Your locker is shared with the squad.
Talk to the four NPCs around the bay to unlock flavor dialogue and free lore entries. They are optional but reward you with small credit payouts the first time.
2. Contract Selection
The world map lights up available contracts. Each contract has:
- A starting zone (Twilight Reef, Mid Ridge, Abyssal Hollow, Black Mound).
- A target ore tier (Common → Legendary).
- An estimated payout (in credits).
- A hazard rating (entity density + depth).
Hover any contract for a tooltip. Click to lock the contract in. The squad gets 60 seconds to board.
3. Role Selection
Pick one role per squad slot. The four roles do not overlap — you cannot double-stack Engineer. The lobby UI highlights which roles are still available. The roles and their core responsibilities:
- Captain — pilots the sub, opens the hatch, runs the panic checklist when things go wrong. Best for one player who is comfortable with the controls page.
- Engineer — keeps the sub hull, sonar, and lights running. Repairs damage inside the cockpit. Best paired with the Captain.
- Spotter — deploys beacons, scans with sonar, and watches for entity aggro. Best as the second pair of eyes on the squad.
- Salvager — opens salvage crates and carries ore back to the sub. Best for one player who wants pure loot focus.
4. Boarding and Launch
Walk to the sub dock. The submarine sits in a flooded pen at the bottom of the wet-bay. Each role slots into a corresponding seat:
| Seat | Role |
|---|---|
| Cockpit (front, left) | Captain |
| Cockpit (front, right) | Engineer |
| Hold (rear, port) | Spotter |
| Hold (rear, starboard) | Salvager |
When the squad is seated, the Captain pulls the launch lever (held 3 seconds). The wet-bay floods further, the hatch closes, and the sub sinks.
5. Approach and Drop
The sub cruises to the target zone. The Captain can pilot manually with W/A/S/D/Q/E and the mouse, or set autopilot from the cockpit terminal. Autopilot is faster but burns fuel.
When the Captain gives the drop order (button prompt in the cockpit), the squad swims out through the bottom hatch into open water.
6. Dive, Drill, Loot
This is the meat of the run. The standard flow:
- Sonar pulse (
Q) — Spotter opens the encounter. The sonar sweep reveals ore nodes, entity shadows, and locked crates within 50m. - Ping (
E) — Captain marks the next target on the squad HUD. - Drill (
Mouse Left) — Salvager holds drill on the ore node until the spawn animation finishes. - Scan for aggro — Spotter watches the sonar return. If entity shadows are closing, ping retreat.
- Carry ore — Salvager collects the broken ore chunks. Each chunk stacks to 20. The sub cargo hold accepts 100 chunks per run.
Repeat steps 1–5 until the cargo hold is full, the Captain hits the abort timer, or entity aggro forces an emergency ascent.
7. The Sub Panic Checklist
When entities aggro — the sonar lights up red and the squad HUD flashes red — the Captain triggers the panic checklist:
- All divers return to sub — Engineer closes the hatch.
- Engineer runs sonar on standby — cycles power to sonar and lights.
- Captain triggers defensive thrusters — for 15 seconds, the sub is immune to entity ramming.
- Spotter marks a retreat waypoint — the squad swims together to a marked beacon.
- Salvager seals cargo hold — prevents ore from being dropped during emergency ascent.
This checklist is the same on every run. Memorize it. The How to Survive guide breaks down each step in detail.
8. Emergency Ascent
If the panic checklist fails — typically because the Captain pulled launch too early or the Engineer ran out of repair charges — the sub can emergency surface:
- Captain holds
Space+Ctrltogether for 5 seconds. - The sub vents ballast and rockets to the surface.
- All divers inside take a small hull-stability hit. The run is forfeit.
- Credits earned during the run still count, but no XP toward contracts is granted.
Use emergency ascent as a last resort. It is almost always better to finish the panic checklist correctly.
9. Return and Sell
When the cargo hold is full, the Captain pulls the return lever in the cockpit. The sub cruises back to the wet-bay. The squad swims back inside through the bottom hatch, seals the hold, and docks.
Walk to the cargo bay terminal (south wall, behind the launch pen). Press E to sell all cargo. The terminal credits the squad, splits it according to the role you picked at lobby, and writes a transaction entry to your log.
10. Unlock Loops
After selling, the lobby terminal opens the unlock shop. You can spend credits on:
- New dive suits (Common → Legendary).
- New drills (Common → Legendary).
- New sonar tiers.
- New beacons.
- New ship paint jobs (cosmetic).
Every unlock is permanent. The four base ships are unlocked by default. New ships unlock at contracts completed milestones (5, 15, 30, 50).
11. The Next Run
After selling, the lobby terminal resets. You can pick the next contract, swap roles, swap gear, and go again. The standard loop is:
- Solo run — 12–18 minutes per run, average payout ~6,500 credits.
- Four-player co-op run — 10–14 minutes per run, average payout ~9,200 credits.
The fastest farm loops are covered in the Tier List and Upgrades guides.
12. Breathe Timer — Quick Reminder
Between runs, the lobby terminal exposes the Breathe Timer tool. Open it from the kiosk at the north end of the bay. The tool is also embedded on this page for quick reference while you read:
Use it between runs to remind yourself of the panic checklist cadence: 5-second sonar pulse, 15-second defensive thrusters, 30-second hatch reseal.
Frequently Asked Questions
Quick answers to the most common questions.
How long is one run?
Solo runs take 12–18 minutes on average. Four-player co-op runs take 10–14 minutes.
Can I switch roles mid-run?
No. Roles are locked at lobby. If you want a different role for the next run, swap at the lobby terminal.
What happens if I die mid-run?
You respawn at the lobby with no credits and a 60-second cooldown. The squad can continue without you, but the run is harder.
Is there a hard mode?
Yes. The hardest contracts unlock after 50 contracts completed. Hard mode doubles entity aggro and quadruples the depth of the deepest ore tier.